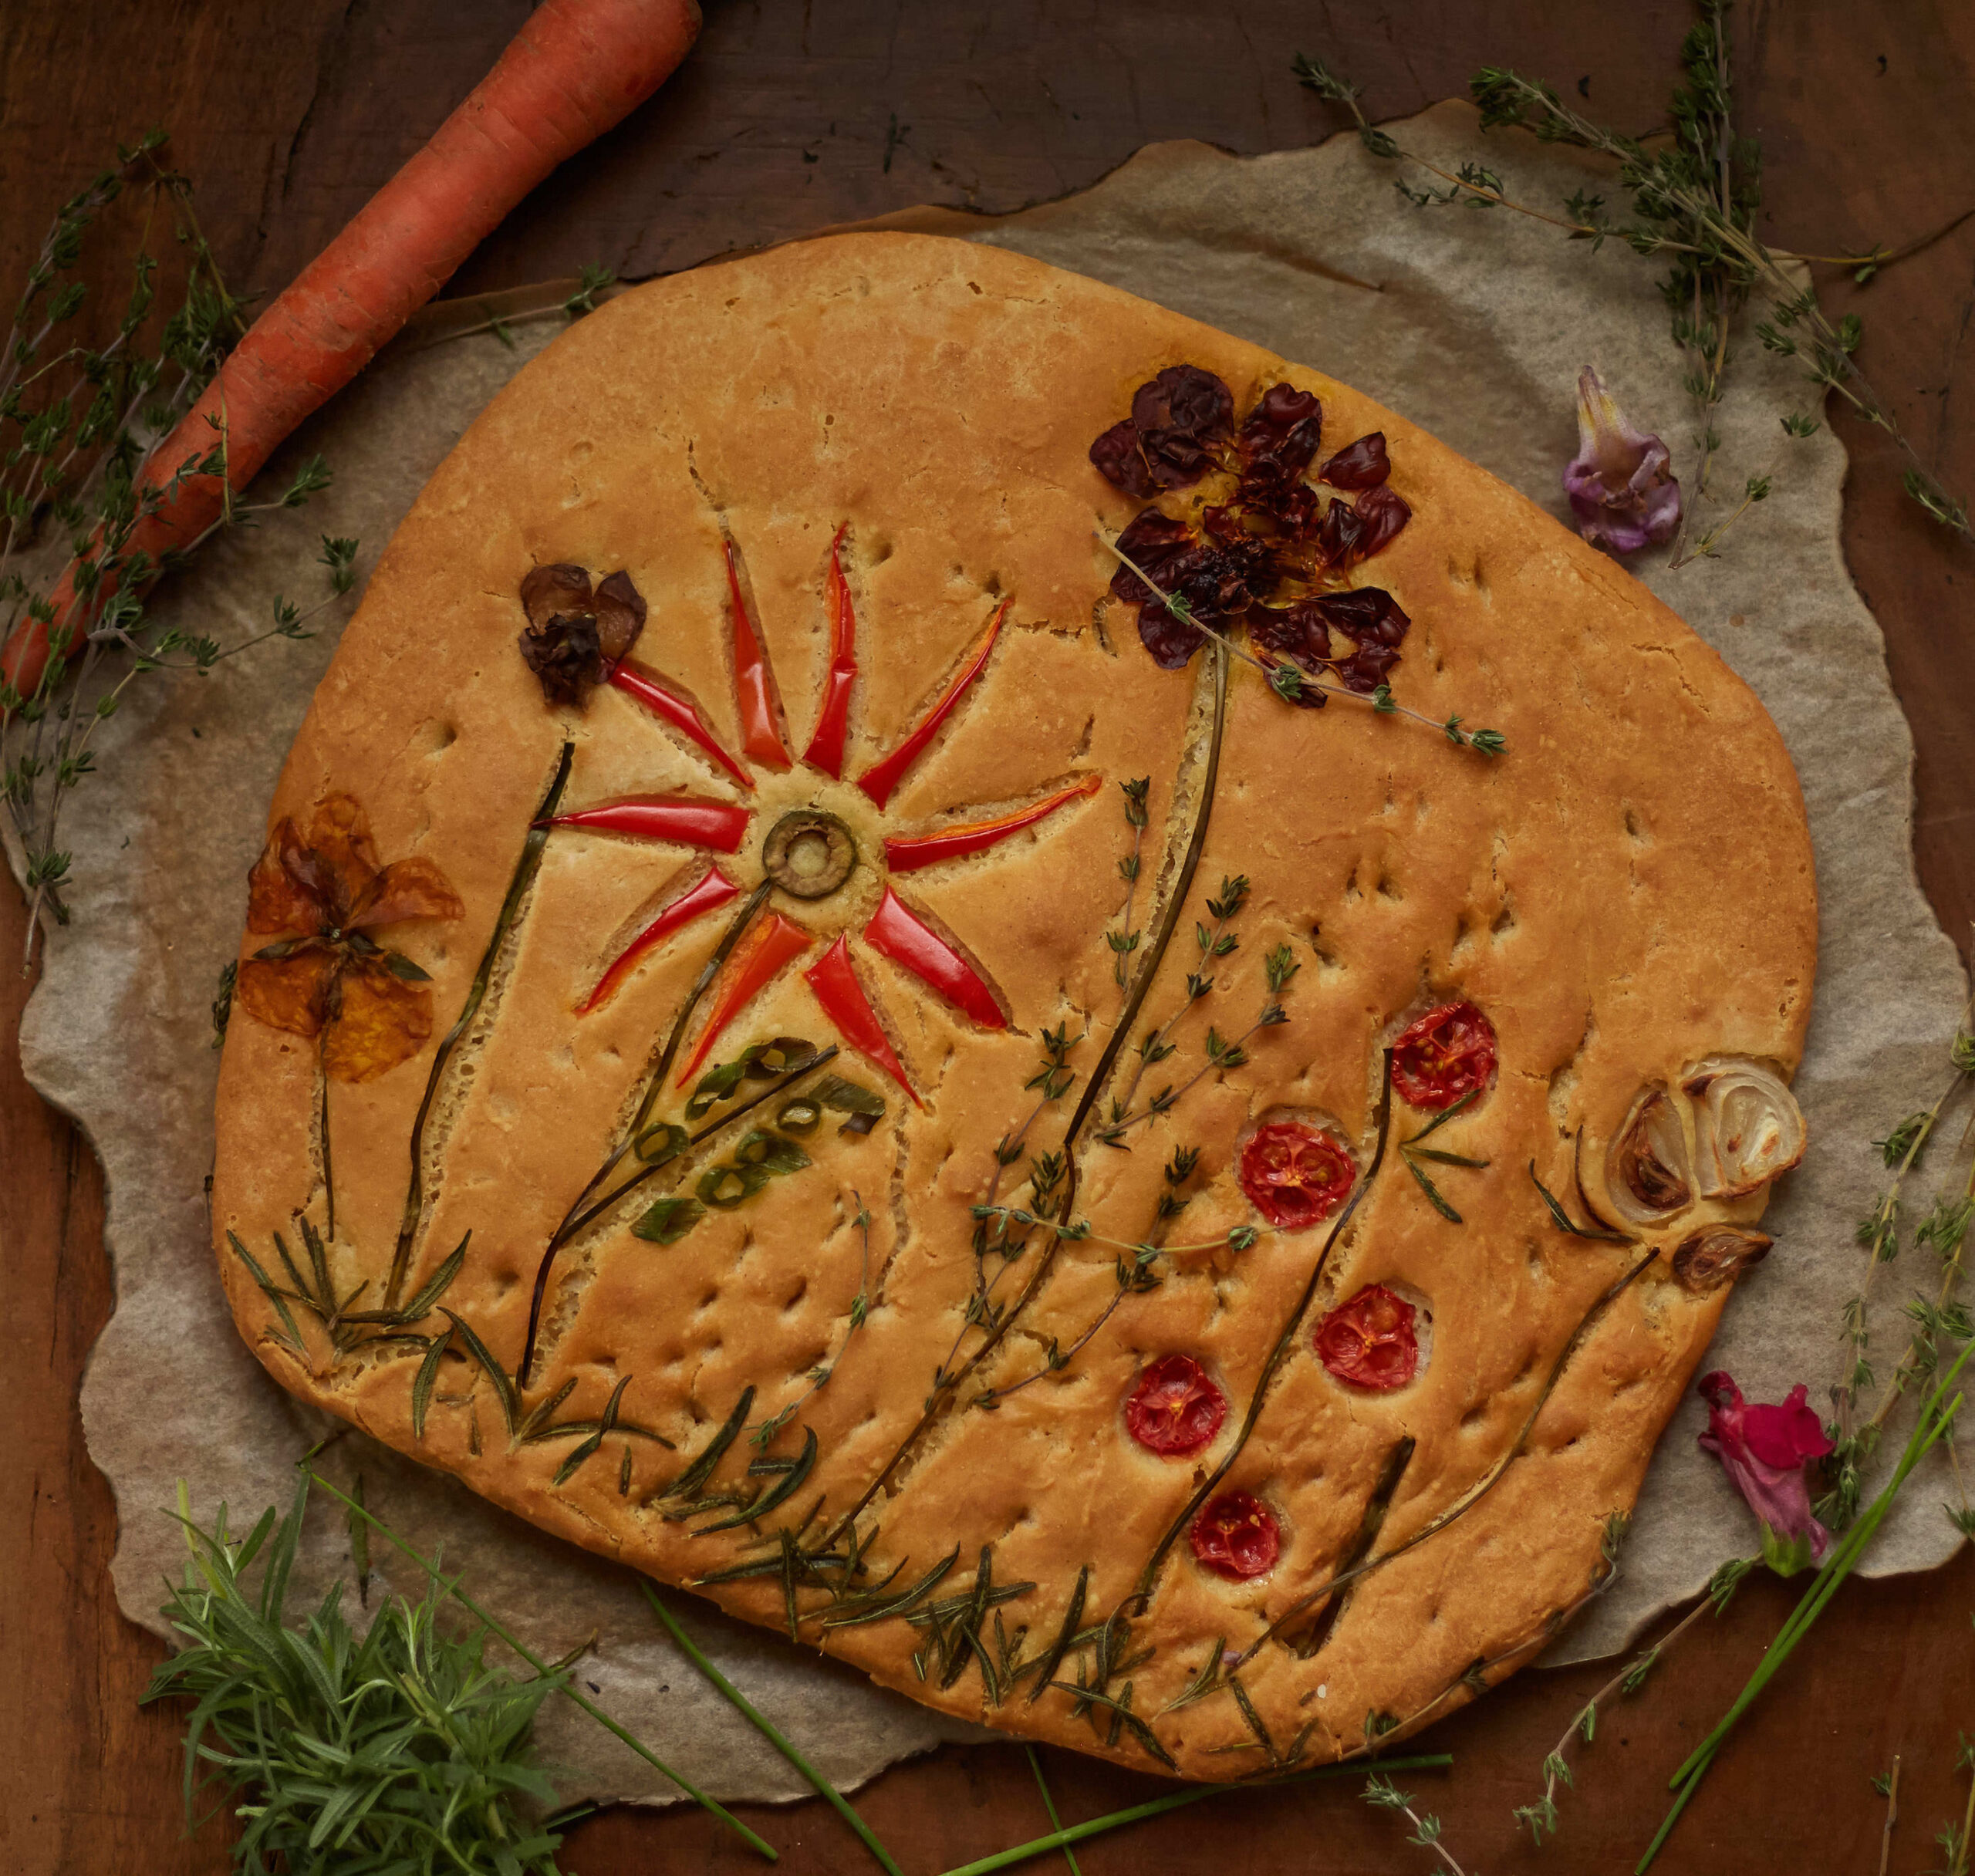
Gluten Free Focaccia Garden
From the yeast activating, to the bread proofing and the final decoration – this recipe requires attention and care.
I’ve recently been diagnosed Celiac and I thought my days of good bread were forever, gone.
Seriously. I kissed the thought of warm, soft, flavorful bread goodbye – in order to heal my body.
Then came this recipe. I have been working with different flours, learning the ins and outs of good bread making and testing..a lot of testing. I am honored to share with you all, gluten-free or not, this majestic focaccia – made with purpose. This bread is soft on the inside and is packed with all of those beautiful air bubbles.
Did I mention how hydrated this bread is? Adios dry gluten-free bread. I am still beaming with happiness at how this turned out! The entire recipe from start to finish is rewarding. From the yeast activating, to the bread proofing and the final decoration – this recipe requires attention and care.
Allow your inner artist to flow and decorate the bread in a way that is yours.
Cheers to gluten-free.
Gluten Free Focaccia Garden
Ingredients
- 300 g gluten free 1-1 bob’s red mill baking flour
- 165 g gluten free all purpose baking flour (Bob’s red Mill)
- 2⅔ tbsp active dry yeast
- 1¼ tsp garlic powder
- 1¾ tsp onion powder
- 2 tsp baking powder
- 465 ml lukewarm water
- 2½ tbsp olive oil Plus some for later
- 2 tsp cane sugar
- 2 tsp salt
Instructions
- In a small bowl add lightly warmed water, then yeast and sugar
- The yeast will start to feed off of the sugar and begin it’s rising process
- Stir the yeast, water and sugar together to combine and allow to sit for 10 minutes*
- You should start to see a foam/bubbles, which will indicate your yeast is active
- In a separate large bowl add both flours, salt, garlic powder, onion powder, baking powder and mix to combine
- Drizzle 2 2/3 tbsp olive oil into the dry ingredients bowl
- When your yeast has risen and foamed after the 10 minutes, pour it into the dry bowl
- Mix to combine, then form the mixture at the center and bottom of the bowl
- Instead of kneading or manipulating the dough with your hands, create a mound that sits central to the base of the bowl as this will be the proofing location
- Cover your large bowl with a cutting board, large plate, or lightly dampened cloth
- Allow your dough to rest for 45 minutes, or until it doubles in size
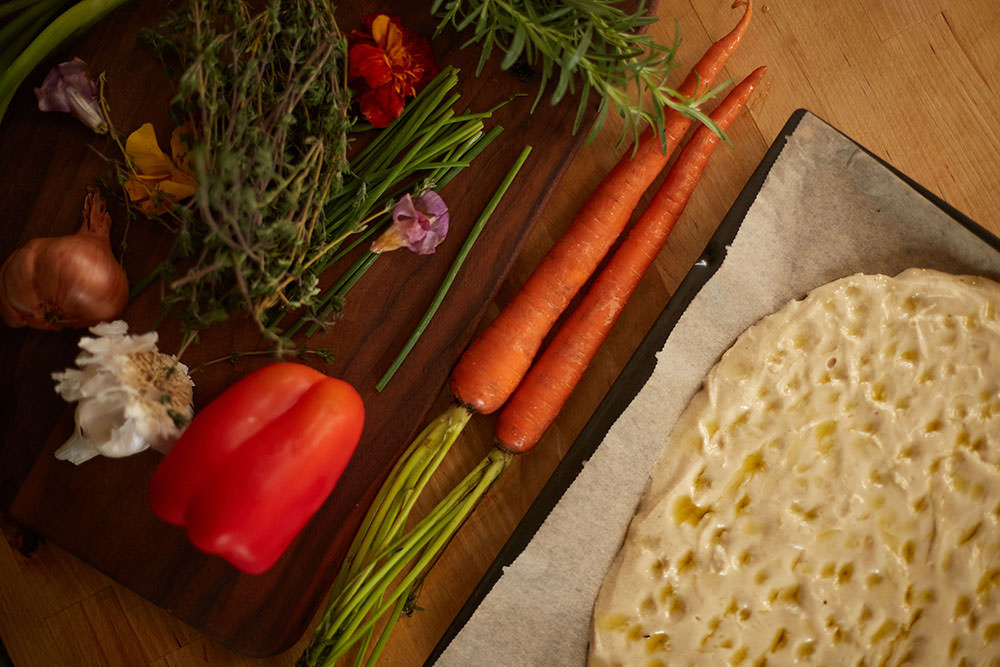
- After your dough has doubled in size, pour it onto an oiled parchment lined baking sheet and spread with a spatula to create the shape of your bread – making sure the spread is 1 1/2 – 2 inches thick
- Drizzle olive oil over the batter/dough (about 1/4 cup)
- Then rub olive oil on your fingertips, to create a barrier to be able to press into the dough (the dough is very sticky and wet, so this is very helpful)
- Begin pressing your fingertips into the dough to create small depressions that reach about 1/2 to 3/4 through the dough
- Do this from the top to the bottom of your dough
- Now for the fun part, decorate your bread with fresh herbs, produce and any additional spices you may want to add
- Get creative!
- Now that you’ve decorated your bread, we have to proof the bread one more time
- Cover your baking sheet with another baking sheet, leaving it open a jar to allow airflow
- Let your bread proof/sit for another 45 minutes to expand in size
- This time the bread should expand 1/3 in size
- 10 minutes before the second proofing is done preheat your oven to 400°
- Add your proofed bread into the oven and allow to bake for 25 to 30 minutes.
- Serve warm and enjoy fresh